Description
Crispy, spicy, and irresistibly tender, these oven-baked panko chicken strips bring comforting home-cooked flavor without the need for frying. They’re perfect for family dinners, casual gatherings, or anytime you’re craving a crunchy, flavorful chicken dish.
Introduction
These Oven-Baked Spicy Panko Chicken Strips are inspired by simple, comforting meals rooted in family kitchens and rural life. With a crunchy coating, warm spices, and oven-baked crispiness, they deliver the satisfaction of fried chicken without the extra oil. They pair beautifully with mashed potatoes, salad, or even creamy mac and cheese, making them a versatile addition to any dinner table.
Why You’ll Love This Recipe
- Crispy and crunchy without deep frying
- Easy, family-friendly meal
- Adjustable spice level
- Uses simple, everyday ingredients
- Perfect for dipping, snacking, or serving as a main dish
Ingredients
- 1 pound boneless, skinless chicken breasts, cut into strips
- 1 cup panko breadcrumbs
- 1/2 cup all-purpose flour
- 2 large eggs
- 1 tablespoon milk
- 1 teaspoon paprika
- 1 teaspoon cayenne pepper
- 1 teaspoon garlic powder
- 1/2 teaspoon salt
- 1/2 teaspoon black pepper
- 2 tablespoons olive oil
Instructions
Step 1 — Preheat Oven
Preheat your oven to 400°F (200°C). Line a baking sheet with parchment paper.
Step 2 — Prepare the Seasoned Flour
In a shallow dish, combine the flour, paprika, cayenne pepper, garlic powder, salt, and black pepper. Mix well.
Step 3 — Prepare the Egg Wash
In a second shallow dish, whisk together the eggs and milk until smooth.
Step 4 — Prepare the Panko
Place the panko breadcrumbs in a third shallow dish.
Step 5 — Dredge the Chicken
Coat each chicken strip in the seasoned flour, shaking off any excess.
Step 6 — Dip in Egg
Dip the floured chicken strips into the egg mixture, ensuring they are fully coated.
Step 7 — Coat with Panko
Press each strip into the panko breadcrumbs, coating thoroughly for maximum crunch.
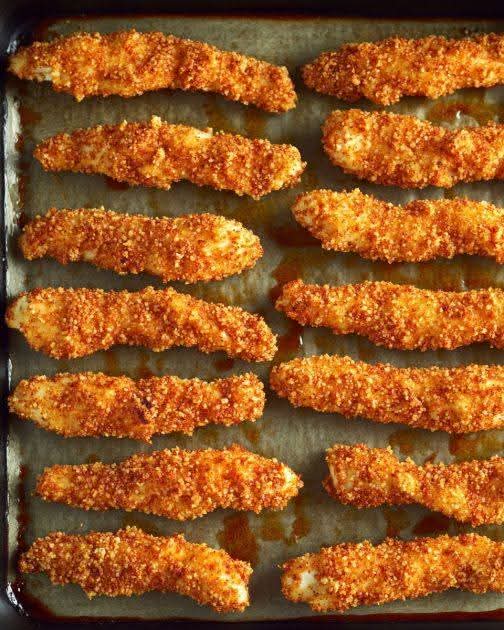
Step 8 — Arrange on Baking Sheet
Place the coated chicken strips on the prepared baking sheet. Drizzle the olive oil evenly over the strips.
Step 9 — Bake
Bake for 20–25 minutes or until the coating is golden and crispy and the chicken is cooked through.
Step 10 — Serve
Let cool slightly before serving. Enjoy with your favorite dipping sauces.
Variations
- Milder Version: Reduce or omit the cayenne pepper.
- Cheesy Crunch: Add 1/4 cup grated Parmesan to the panko.
- Gluten-Free Option: Use gluten-free flour and gluten-free panko.
- Sweet and Spicy: Add 1 teaspoon brown sugar to the flour mixture.
- Different Proteins: Replace chicken with turkey or pork strips.
Tips for the Best Results
- Pat the chicken dry before dredging for better coating adhesion.
- Press the panko firmly onto the chicken for maximum crunch.
- Don’t overcrowd the baking sheet—give space for crisping.
- Flip halfway through baking for even browning.
Storage Tips
- Refrigerator: Store leftovers in an airtight container for up to 3 days.
- Freezer: Freeze fully cooked strips for up to 2 months. Reheat in the oven for crispiness.
Serving Suggestions
Serve with ranch, blue cheese, honey mustard, spicy mayo, or barbecue sauce. Pair with mashed potatoes, mac and cheese, a fresh garden salad, or roasted vegetables.
FAQs
Q: Can I air-fry these?
A: Yes, air-fry at 390°F (200°C) for 12–15 minutes, flipping halfway.
Q: Can I make them ahead?
A: Yes, bread the chicken and refrigerate for up to 6 hours before baking.
Q: Can I use chicken tenders instead of breasts?
A: Absolutely—just adjust cooking time slightly if they are thicker.
Conclusion
These Oven-Baked Spicy Panko Chicken Strips offer the perfect balance of crispiness, spice, and comfort. Easy to prepare and endlessly versatile, they’re a recipe you’ll return to again and again whenever you need a delicious, family-friendly meal.